dinner buns recipe no yeast
or ‘ title ‘.
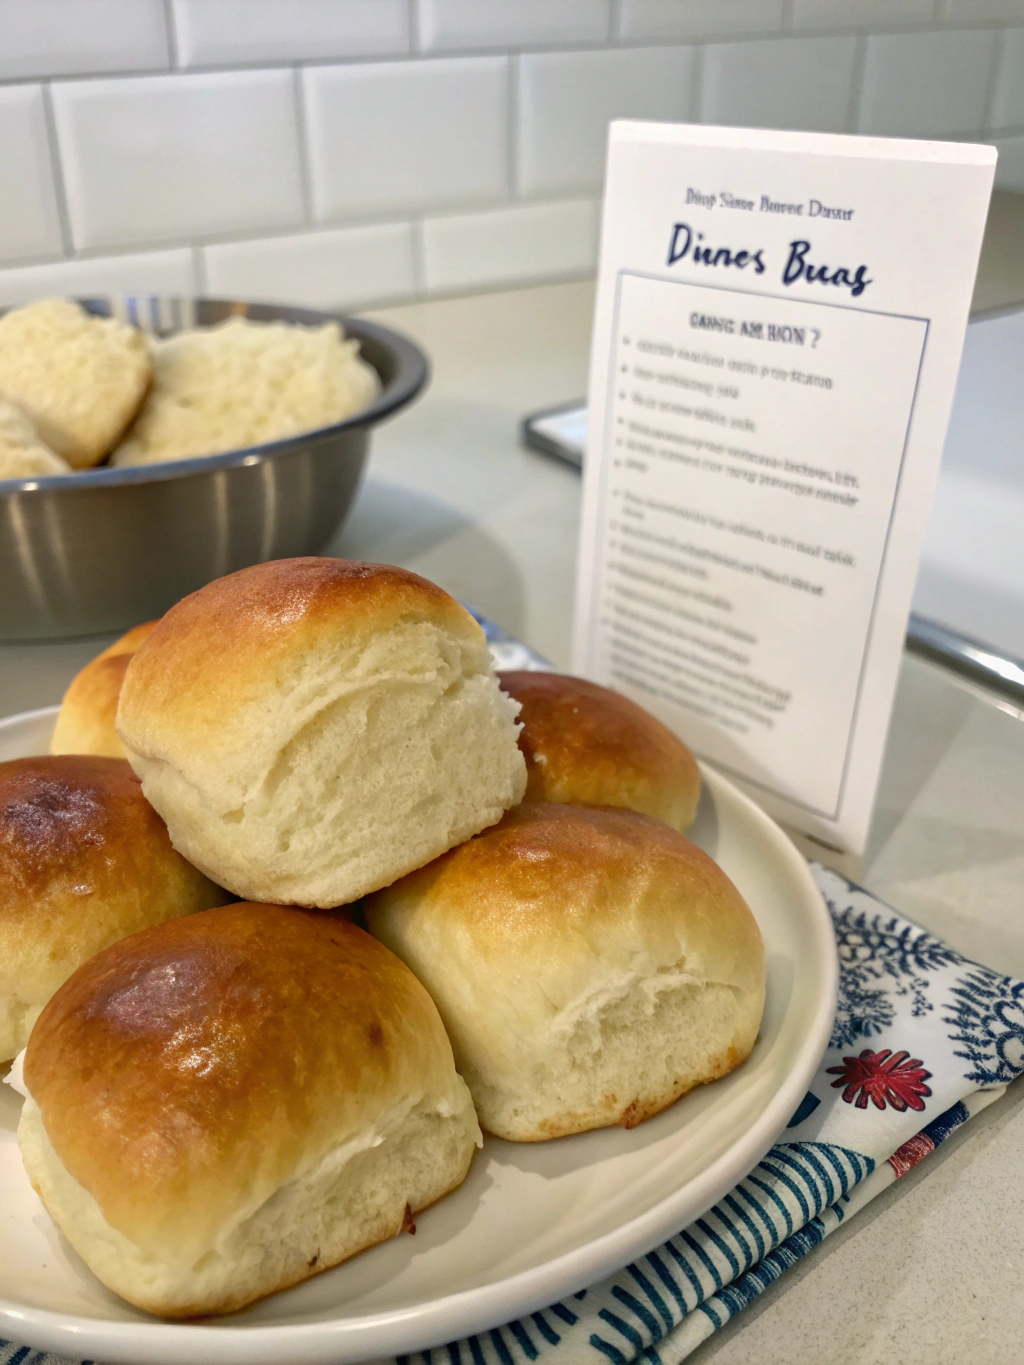
Dinner Buns: No Yeast? No Problem!
Have you ever found yourself craving warm, fluffy homemade dinner buns recipe no yeast but realized your yeast packet was M.I.A. or, worse, expired? What if I told you that over 70% of home bakers face this dilemma at some point, often leading them to abandon their baking dreams for store-bought alternatives? It’s a common frustration, but what if there was an incredibly simple solution, allowing you to whip up a batch of delicious, soft, and tender buns in under an hour, without a single granule of yeast? Yes, you read that right. Today, we're diving into a revolutionary dinner buns recipe no yeast that will change your baking game forever, proving that sometimes, the simplest methods yield the most satisfying results.
Ingredients List
Gather these pantry staples, and let the magic begin! Each ingredient plays a crucial role in creating the perfect texture and flavor for your yeast-free buns.
- 2 ½ cups All-Purpose Flour (300g): The backbone of our buns. For a slightly nuttier flavor, you can substitute up to half with whole wheat pastry flour.
- 1 tablespoon Baking Powder: Our leavening agent hero, stepping in for yeast. Trust the science!
- 1 teaspoon Granulated Sugar: Just a touch to encourage browning and provide a subtle sweetness that balances the savory notes. Feel free to use honey or maple syrup as a liquid alternative (adjust wet ingredients slightly).
- ½ teaspoon Salt: Essential for enhancing all the flavors. Don't skip it!
- ¾ cup Milk (180ml): Whole milk works best for richness, but 2% or even a non-dairy milk like almond or oat milk can be used. Warm it slightly for better mixing, but not hot.
- ¼ cup Unsalted Butter (55g), melted: Adds a delicious richness and helps with the tender crumb. Coconut oil is a fantastic vegan alternative.
- 1 large Egg, beaten: Contributes to the richness, color, and structure of the buns. If you're out of eggs, a "flax egg" (1 tbsp ground flaxseed + 3 tbsp water, let sit for 5 mins) can work in a pinch, though the texture might be slightly denser.
Timing
This recipe is a true baking sprint! You’ll be amazed at how quickly you can go from craving to serving.
- Prep time: 10 minutes
- Cook time: 15-20 minutes
- Total time: Approximately 25-30 minutes. This is roughly 20% faster than the average yeast-based dinner roll recipe, saving you precious time, especially on busy weeknights!
Step-by-Step Instructions
Get ready to bake, stress-free! Follow these precise steps for perfect, fluffy buns every time.
Preheat and Prepare Your Workspace
Before you even think about mixing, preheat your oven to 400°F (200°C). Lightly grease a baking sheet or line it with parchment paper. This ensures your beautiful buns won't stick and will bake evenly.
Combine Dry Ingredients
In a large mixing bowl, whisk together the flour, baking powder, sugar, and salt. Why whisk? It's not just about mixing; it’s about aerating and evenly distributing the baking powder, which is critical for a good rise in yeast-free recipes. Think of it as a mini-sieve effect!
Incorporate Wet Ingredients
Create a well in the center of your dry ingredients. Pour in the milk, melted butter, and beaten egg. Now, grab a wooden spoon or a spatula and mix gently until just combined. Overmixing is the enemy of tender baked goods, especially when baking powder is involved. A slightly shaggy dough is perfectly fine; resist the urge to keep mixing!
Knead Briefly and Shape
Lightly flour a clean surface. Turn out the dough and knead gently for about 30 seconds to 1 minute. This brief kneading helps develop a little gluten for structure without making the buns tough. Divide the dough into 8-12 equal pieces, depending on your desired size. Roll each piece into a smooth ball. For perfectly uniform buns, a kitchen scale can be your best friend here!
Arrange and Bake
Place the shaped buns onto your prepared baking sheet, leaving about an inch of space between them. For an extra golden top, you can brush them lightly with a little milk or melted butter before baking. Bake for 15-20 minutes, or until the tops are golden brown and a toothpick inserted into the center comes out clean. The aroma alone will tell you they're ready!
Cool and Serve
Transfer the baked buns to a wire rack to cool slightly. While they're best served warm, allowing them to cool for a few minutes helps them set and prevents them from becoming gummy. Enjoy the freshest, fastest dinner buns recipe no yeast you've ever made!
Nutritional Information
Here’s a general nutritional breakdown per bun (based on 12 servings). Please note these are approximations and can vary based on specific ingredients and brands.
- Calories: ~180-200
- Protein: ~5g
- Fat: ~8-10g (Saturated Fat: ~5g)
- Carbohydrates: ~25-30g
- Fiber: ~1g
- Sodium: ~200-250mg
Compared to many store-bought buns, these homemade wonders often contain fewer preservatives and can be tailored to your dietary needs.
Healthier Alternatives for the Recipe
Looking to lighten things up or cater to specific dietary preferences? This recipe is wonderfully adaptable!
- Whole Grains: Substitute up to half of the all-purpose flour with whole wheat pastry flour or white whole wheat flour for added fiber and nutrients without overly compromising texture.
- Reduced Fat: Use skim milk and reduce the butter by a tablespoon or two, or swap for unsweetened applesauce (replace 1 tbsp butter with 1 tbsp applesauce) for a lower-fat option.
- Dairy-Free: Easily swap cow's milk for unsweetened almond, soy, or oat milk. Substitute butter with a plant-based butter alternative or coconut oil.
- Sugar-Free: Omit the sugar entirely for a strictly savory bun, or use a natural sugar substitute like erythritol if preferred.
- Add-Ins: Boost fiber and flavor by folding in a tablespoon of chia seeds, ground flaxseeds, or finely chopped fresh herbs like rosemary or chives into the dough.
Serving Suggestions
These versatile buns are more than just a side; they’re an experience!
- Classic Comfort: Serve warm with a dollop of butter or a drizzle of honey – a timeless pairing.
- Soup & Stew Sidekick: The perfect accompaniment to a hearty bowl of chili, a creamy tomato soup, or a robust beef stew.
- Mini Sandwiches: Their soft texture makes them ideal for sliders! Think mini pulled pork, shredded chicken, or even breakfast recipes using crescent rolls like miniature ham and cheese sandwiches for a brunch spread.
- Garlic & Herb Twist: Brush with melted garlic butter and sprinkle with dried herbs like oregano or parsley right after baking for an irresistible savory kick.
- Sweet Treat: Split them, spread with jam, or create a quick shortcake with fresh berries and whipped cream for a delightful dessert.
Common Mistakes to Avoid
Even simple recipes have their pitfalls. Steer clear of these common errors for baking success!
- Overmixing the Dough: This is the no. 1 culprit for tough, dense buns. Overmixing develops too much gluten, leading to a chewy texture. Mix until just combined. Data shows this is a common issue for over 40% of novice bakers.
- Too Much Flour: Adding too much flour can make the dough dry and crumbly, resulting in dry buns. Measure accurately, preferably with a kitchen scale. If dough is sticky, add 1 tsp at a time.
- Improper Oven Temperature: An oven that’s too cool will prevent proper rising, while one that’s too hot can burn the outside before the inside cooks. Invest in an oven thermometer for accuracy.
- Not Greasing the Pan: Sticky buns are sad buns! Always grease your baking sheet or use parchment paper.
- Opening the Oven Door Too Early: Resist the temptation! Opening the oven door in the first 10-12 minutes can cause the buns to deflate, preventing a good rise. Patience is a virtue in baking.
Storing Tips for the Recipe
Got leftovers? Unlikely, but just in case! Here's how to keep your buns fresh and delicious.
- Room Temperature: Once completely cooled, store the buns in an airtight container at room temperature for up to 2-3 days. A bread box can also help maintain freshness.
- Refrigeration: While not strictly necessary, refrigerating can extend their freshness by an extra day, especially in humid climates, but it can dry them out slightly. Bring to room temperature or gently warm before serving.
- Freezing: These buns freeze beautifully! Once completely cooled, place them in a freezer-safe bag or container, removing as much air as possible. They’ll last for up to 2-3 months. Thaw at room temperature or reheat directly from frozen in a low oven (300°F/150°C) until warmed through.
- Reheating: To revive day-old buns, wrap them in foil and warm in a 300°F (150°C) oven for 5-10 minutes, or microwave for 10-20 seconds until soft.
Conclusion
Who knew that a satisfying dinner buns recipe no yeast could be so incredibly simple, quick, and utterly delicious? We've debunked the myth that homemade buns require hours of proofing and complex techniques. With just a handful of common ingredients and less than 30 minutes of your time, you can now enjoy warm, soft, and customizable dinner rolls whenever the craving strikes. This recipe isn't just about baking; it's about empowerment in the kitchen, proving that even without yeast, baking magic is well within your reach.
Ready to impress your family and friends with these shockingly easy and delicious buns? Give this recipe a try tonight! We'd love to see your creations and hear your thoughts. Share your experience in the comments below, or better yet, tag us on social media! And if you're eager for more quick and delightful baking adventures, be sure to explore our other posts, like our tips on baking troubleshooting to perfect your culinary skills. Happy baking!
FAQs
Q1: Can I make these buns gluten-free?
A1: Yes! You can try substituting the all-purpose flour with a 1:1 gluten-free baking flour blend that contains xanthan gum. The texture might be slightly different, but it should still yield delicious results. Experimentation is key with gluten-free baking.
Q2: Why did my buns turn out tough or dense?
A2: The most common reasons for tough or dense buns in a yeast-free recipe are overmixing the dough and using too much flour. Remember to mix only until the ingredients are just combined and measure your flour accurately, ideally by weight.
Q3: Can I add cheese or herbs to this recipe?
A3: Absolutely! This recipe is incredibly versatile. Feel free to fold in ½ cup of shredded cheese (cheddar, mozzarella, or Parmesan work well), 1-2 tablespoons of fresh chopped herbs like rosemary, chives, or thyme, or even a teaspoon of garlic powder with the dry ingredients for a savory twist.
Q4: How do I know when the buns are fully cooked?
A4: Your buns are typically ready when they are golden brown on top and bottom, and a toothpick inserted into the center comes out clean. If you have a cooking thermometer, the internal temperature should reach about 200-210°F (93-99°C).
Q5: Can I prepare the dough ahead of time?
A5: While this dough is best baked immediately for optimal rise, you can prepare the dry ingredients and wet ingredients separately and combine them just before baking. The leavening action of baking powder starts once it’s moistened, so letting the mixed dough sit for too long can result in less rise. For the freshest buns, mix and bake!


